Written by Jorn
Edited on
26 June 2025
·
08:53
How do you install your Samsung The Premiere projector?
Your Samsung The Premiere came in and you probably want to plan a movie night right away. You'll first have to set up the projector. In this article, we'll explain how to set up the projector step by step.

Get started with The Premiere
With these 3 simple steps, you can soon enjoy your Samsung The Premiere projector.
Step 1. Place the projector in the right spot
Step 2. Connect the projector
Step 3. Focus the projection

Step 1: place the projector and set it straight
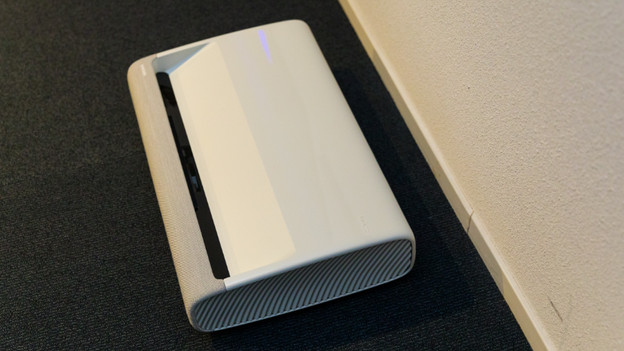
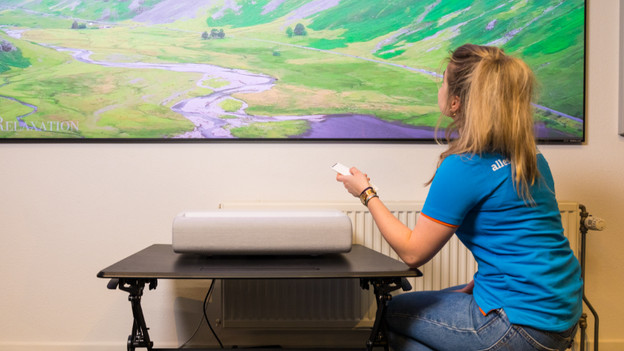
Place the projector in the right spot. The LSP7T is placed at up to 41.5cm distance from the wall and the LSP9T at up to 23.8cm distance. Make sure to place the projector in front of a flat background. Don't you have a flack background? Look into a fixed frame screen. With a fixed frame screen, you won't see unevenness in your projection.
Set the projector straight. Adjust the legs on the bottom by twisting them.

Step 2: turn on the projector
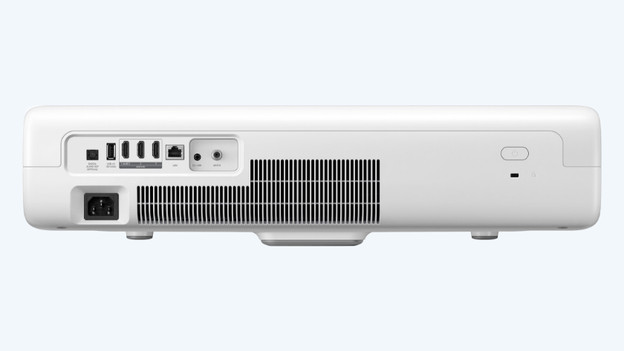
Connect the projector. Plug the power cable into the projector. Connect your console, laptop, or Blu-ray player, for example. You can connect them via the HDMI inputs on the back. Now press the on/off button on the projector.

Step 3: adjust the image properly
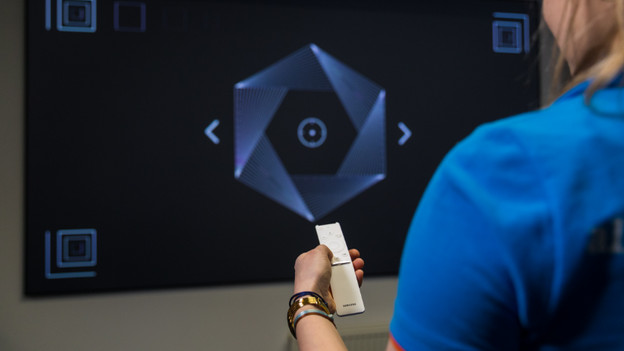
Your projection will appear on the wall. Is it not straight? Check step 1 of this article again. On the remote, press the button with the house. Go to 'Settings' and to 'Projection settings'. You can adjust the projection here. Select 'Focus' if you want to focus the projection. You can do this with the arrows on the remote. Select 'Screen settings' if you want to adjust the position of the corners. This is also called keystone correction.
You're now done with the installation of your projector.
Article by Jorn
Projector Expert.
