Written by Julie
Edited on
30 December 2024
·
08:50
How do you set up the Bosch Indego robot lawn mower?
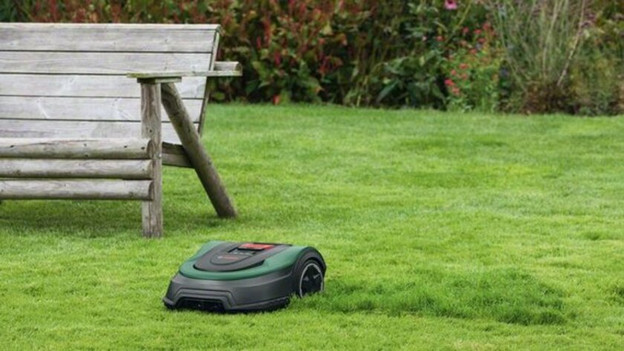
Once you finish setting up the Bosch Indego robot lawn mower, it'll keep your lawn freshly cut. Unfortunately, the setup is complicated and takes a lot of time. In this article, we'll take you through the setup of the Bosch Indego robot lawn mower in 6 steps. This way, you can enjoy your perfectly cut lawn as soon as possible.
Summary steps
We'll briefly list the steps that you have to take to set up the robot lawn mower. Because we can't go into too much detail, we always recommend you to carefully go through the installation manual of the robot lawn mower.
Step 1: what should you keep in mind?
Step 2: prepare the setup properly.
Step 3: place the base station.
Step 4: place the boundary wire.
Step 5: connect the base station to the power supply.
Step 6: set up the robot lawn mower and map the lawn.


Step 1: what should you keep in mind?
Your lawn is...
- ... mostly flat.
- ... not bigger than the maximum size the robot lawn mower can handle.
- ... at least 1.35m wide (the narrow parts as well).
- ... free of metal objects or metal constructions.
Do you want to use the app? Make sure:
- your smartphone or tablet has a good connection in the garden.
- your smartphone or tablet is updated to iOS 10 or higher, or Android 5 or higher.
Additionally, the power supply has to be within 5m distance of the lawn. In addition to the included accessories, you need a wooden hammer and a wire stripper.

Step 2: prepare the setup well
- Draw an outline of your garden and mark the place of the socket.
- Decide where you want the base station. Note: make sure to place it close to the socket.
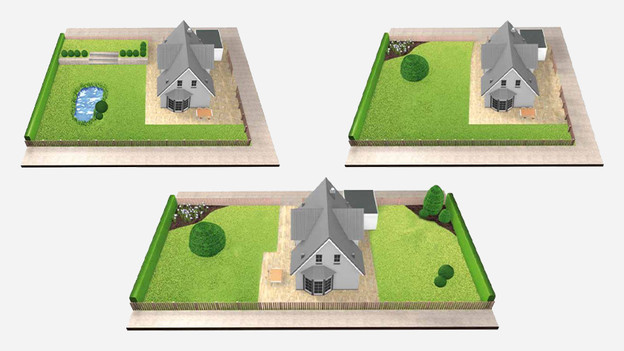
- In your outline, add the places you don't want the robot lawn mower to mow (for example, a pond or a tree). You use the perimeter wire to exclude these parts of the mower.
- Is one of the passages narrower than 1.35m? Make sure to add this to the outline.
- Check how many parts of lawn the garden has. Is there another part of lawn behind stairs? You need to carry the robot lawn mower from one lawn to the other. Do you have 2 parts of lawn, and is the second surface bigger than 40m2? You need an extra base station.
- Remove all loose items from the lawn, like toys and branches.
- Make sure to mow the lawn with a lawn mower set on the shortest cutting settings beforehand. It sounds silly, but this way the robot lawn mower will work best.

Step 3: place the base station
Make sure to place the base station:
- Near a socket.
- On a flat surface.
- In the shade (when the robot lawn mower gets too hot due to the sun, the battery can become too hot and start working less well).
- In a place with enough space around it, and facing the right direction. The space you need and how to position the station correctly, is described in the installation manual.
- You then place the boundary wire in the base station, as shown in the manual.

Step 4: place the boundary wire
Keep in mind that placing the boundary wire, also called perimeter wire, takes the longest time. The boundary wire determines where the mower mows. You can place the wire above the ground by using pins, or you can burrow it. Make sure the maximum depth to burrow is 5cm. Make sure to check the distance to ponds, patios, and borders. The manual tells you exactly how much distance you need from these objects using the perimeter wire.

Step 5: connect the base station to the power supply
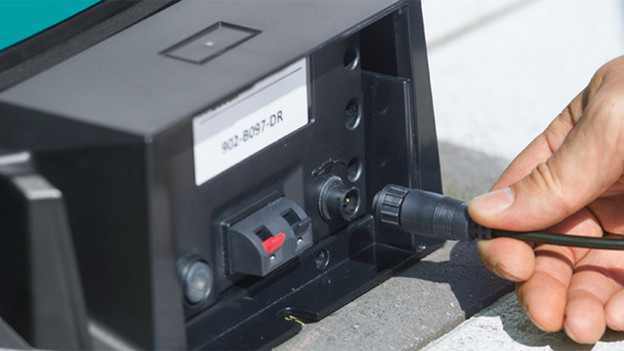
- Pull the power cord through the protective cover of the base station. The manual tells you exactly how to do this.
- Switch on the Indego.
- Plug the mower into the base station to charge.

Step 6: screen settings and mapping the lawn
You can continue with the setup of the robot lawn mower after you connected the base station to the power supply. Choose a language and personal code. The robot lawn mower doesn't work without a code. Press the key with the check mark, so the mower can map the garden. Walk along the edges with the robot lawn mower to make sure you placed the perimeter wire correctly everywhere. The robot lawn mower doesn't cut grass the first time.
The mower maps the lawn for the most part. It doesn't include extra parts of the lawn. It takes the mower at least 3 times before it recognizes all excluded objects.
In addition, make sure you set the cutting height. We recommend you start with a higher setting and keep lowering the cutting height each time you use the mower. This way, it won't cut the wire.
Article by Julie
Robot Lawn Mower Expert.
