Written by Laurence
Edited on
1 October 2025
·
11:04
How does keystone correction work?
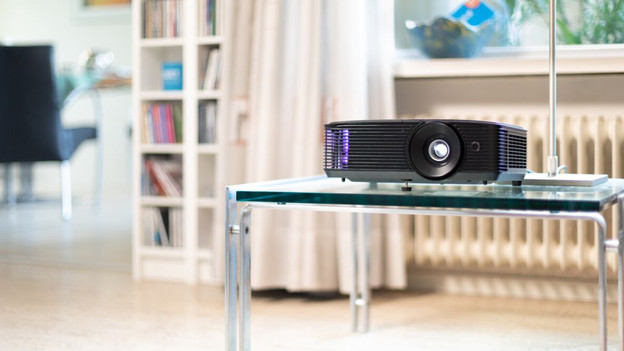
Often you can't place a projector right in front of the screen. This makes the projection look more like a trapezoid than a rectangle. In this case, the keystone correction is a useful solution. With this function, you can easily adjust the position of the corners. You can read exactly how this works on this page.
STep 2: make sure that the image fits on the screen
Make the image larger or smaller to make it neatly fit on the screen. Does your projector have a zoom function? It often has a dial at the top of the device. Turn the wheel to adjust the size. Does the projector not have a zoom function? You have to move the projector closer or farther away from the screen.


Step 3: adjust the corners of the images
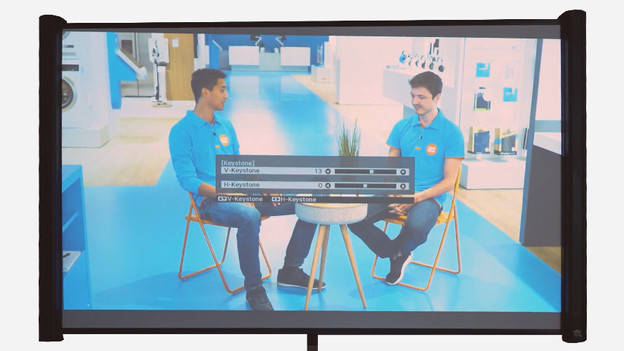
Use the button to straighten the screen. This way, you can adjust the corners horizontally and vertically. Hold the button until the corners of the image fit exactly into the corners of the screen. Is this not possible in one go and do you want to start over? Usually, the projector shows a menu that shows you see all the adjustments you made. This way, you can easily reset the corners to the basic settings.
Article by Laurence
Projector Expert.

