
Written by Steven
Edited on
22 September 2023
·
14:22
How do you set up Synology Drive Server?
Synology Drive Server is the successor of Synology Cloud Server. It allows you to save files in your own cloud. You decide who gets access and who is allowed to view and edit these files on any device. We explain to you step by step how to download, install, and set up Drive Server.
What is a Synology Drive Server?
With Drive Server, you easily manage and synchronize all your files. Give access to others in your network and share photos, videos, and documents. You decide who gets to see the files and you can even set a password. You open and edit files on laptops, desktops, tablets, and smartphones. As mentioned before, this is the upgraded version of Synology Cloud Station. This application is more clear, you edit documents online, and the mobile application is extended.

Set up Synology Drive Server
Setting up Synology Drive Server isn't complicated and takes you less than an hour. Follow the steps below:
- Preparation.
- Install Synology Drive Server on your NAS.
- Turn on synchronization and give access.
- Download Synology Drive Client onto your PC or laptop.
- Set up Synology Drive.
Preparation
Before you start installing Synology Drive Server, please note:
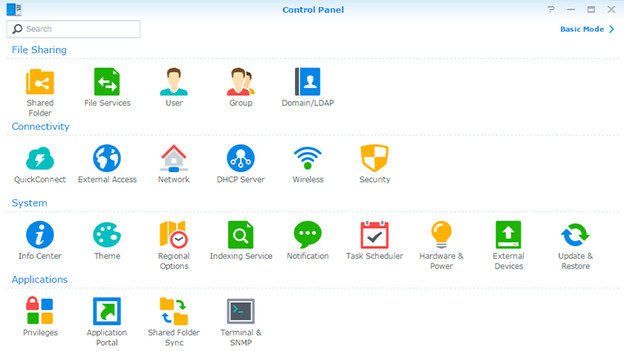
- Make sure your NAS has been updated to the latest DSM version, or at least DSM 6.2.2. You can check this via the Synology Configuration screen. Click 'Edit and recover' to see the status.
- Use a PC or laptop with Firefox, Chrome, Safari, or Internet Explorer 10.
- The apps 'Universal Search' and 'Synology Application Service' have to be installed. Isn't this the case? Download them in the Synology Package Centre.
- Make sure to have your QuickConnect ID or IP ready, you need this for step 3.
Step 1: install and set up Synology Drive Server on your NAS
- Log in to your Synology NAS.
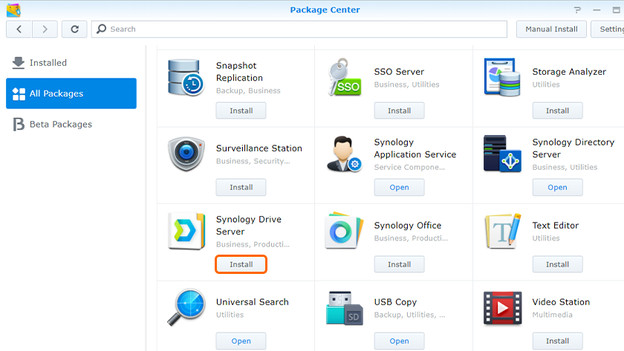
- Open the 'Synology package center'.
- Type 'Drive' in the search bar or find Synology Drive Server via 'All packages'.
- Press 'install' and the application will be downloaded.
- Click 'open' when the download is finished.
- A pop-up will show asking you to refresh the page, click 'yes'.
- Synology Drive and Drive Admin Console server are now installed on your NAS.

Step 2: switch on synchronization and give access
- Open Synology Drive Admin Console using your admin account.
- Go to 'team-map' and select the folder you want to synchronize.
- At the top, choose 'switch on'. The status is now green.
- The folder is now switched on, but you don't have access yet.
- Go to the Synology Configuration screen to get access.
- Go to the 'Shared folder' to change the read and write permissions.
- If this doesn't work, go to the tab 'User'.
- Select a user and click 'Edit'. Again, you can give specific access for each folder. Press OK when you are done.
Step 3: download Synology Drive Client to your PC or laptop
- Open Firefox, Chrome, Safari, or Internet Explorer on your PC or laptop.
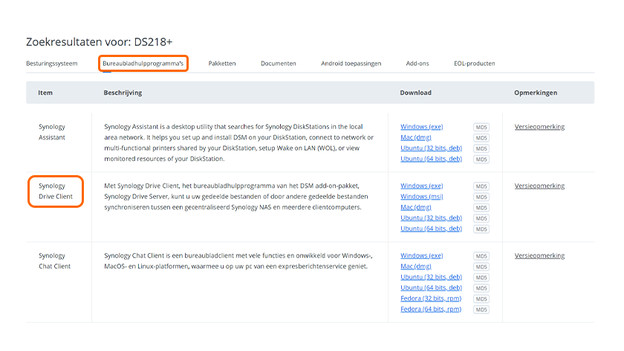
- Go to Synology Download Centre (see link below this paragraph) and select your NAS model.
- Go to the tab 'Desktop Utilities' and download 'Synology Drive Client' for Windows, Mac, or Ubuntu.
- Open in the download folder.
- Read and accept the terms and conditions, and install the file.
- When the installation is finished, Drive will open. Click 'Start now'.
- Fill in your QuickConnect ID or IP address in the top row of the login screen, and click on the magnifying glass next to it. Log in using your Synology username and password, and click 'Next'.
Step 4: set up Synology Drive
- Click 'Yes' or 'Not now' in the pop-up about QuickConnect and 'ignore and continue' in the pop-up about SSL.
- Now in the 'Almost done!'-screen, click on the pencil icon next to the 'Drive Server'.
- Choose the Synology folder that you want to synchronize with your PC and click 'OK'.
- You'll return to the 'Almost done!'-screen. Do you want to change this? Click on the pencil icon next to the 'Local folder'.
- Choose the local folder that you want to synchronize with NAS, for example C:.
- Optional: Go to 'Advanced' to skip specific folders and file types when synchronizing. Using 'Sync mode' you choose if you want to download, upload, or do both from now on.
- Again, you go back to the 'Almost done!'-screen. Click 'Next'.
- Switch on shared-with-me-synchronization, or do this later. Click 'Done'.
- If you want to learn more, you can take the virtual tour about Synology Drive.
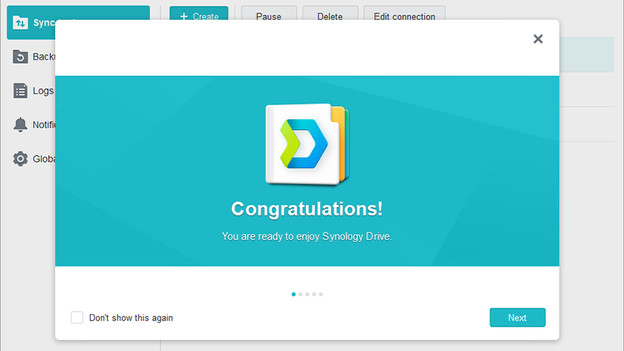
- You're now finished, congratulations! Have fun with Synology Drive.
