
How do you install the BlueBuilt wall mount for the Sonos One / One SL?
Install your BlueBuilt wall mount in 7 steps
You can install your new BlueBuilt wall mount step by step. This'll only take you 30 minutes.
- Step 1: collect tools and parts
- Step 2: prepare mount
- Step 3: draw the drill holes
- Step 4: drill the holes
- Step 5: hang the mount
- Step 6: secure the mount
- Step 7: adjust the mount
Step 1: collect tools and parts
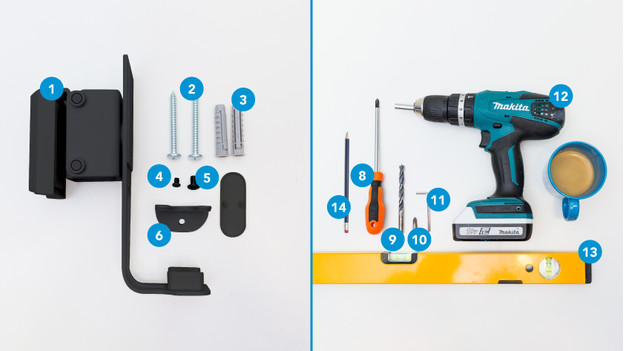
In the box:
- Mount (1)
- Screws (2)
- Plugs (3)
- Small bolt (4)
- Slightly larger bolt (5)
- Clamp (6)
- Cap (7)
- Hex key (11)
Things you need to have yourself:
- Phillips screwdriver (8)
- Drill bit (8mm) (9)
- Phillips drill bit (10)
- Drill (12)
- Spirit level (13)
- Pencil (14)
Step 2: prepare the mount
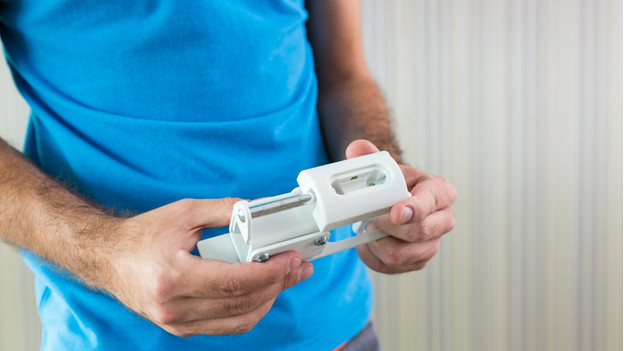
On the back of the mount (1), there's a plastic cap. Pull this off. It might be a little stiff, so you might have to use more power.
Step 3: draw the drill holes
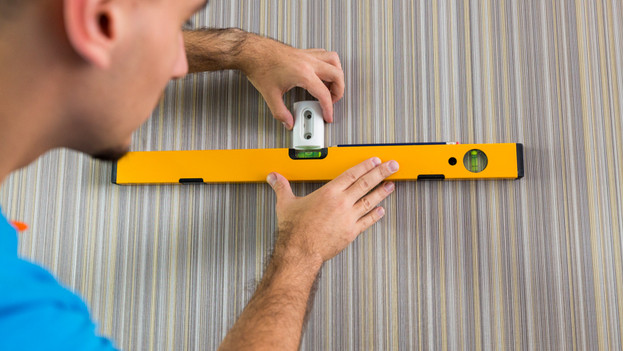
Hold the plastic cap against the wall in the spot where you want to hang the mount. Draw the 2 holes and use a spirit level to check if they're straight (13).
Step 4: drill the holes
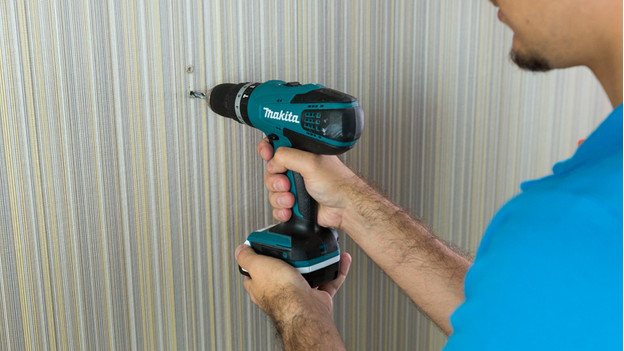
Screw the 8mm drill bit (9) into the drill (12). Drill holes of about 5cm deep in the spots you marked in step 2. Push the plugs (3) into the holes. Screw the plastic cap in place with the screws (2).
Step 5: hang the mount
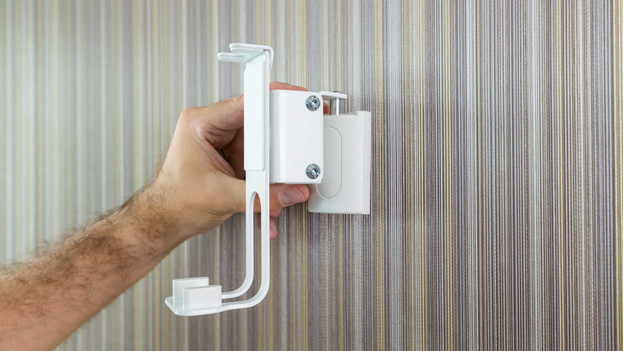
Cover the screws in the wall with the cap (7) to hide them neatly. You can now click the mount (1) in place.
Step 6: secure the mount
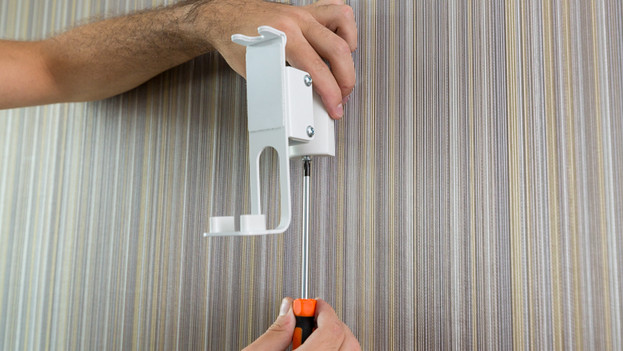
Use the slightly larger bolt (5) and a screwdriver (8) to attach the mount to the bottom. Place the speaker onto the mount and secure it with the clamp (6) and the small bolt (4).
Step 7: adjust the mount
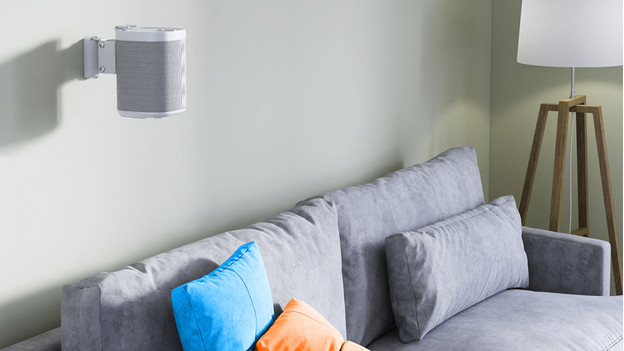
Use the hex key (11) and unscrew the bolts on the side of the mount. This allows you to rotate and tilt the speaker into the right listening position. Connect your Sonos speaker to your soundbar or smartphone and enjoy movies and music in your ideal sound setup.


