How do you set up an Imou IP camera?
Set up an Imou IP camera in 4 steps

You go through these 4 steps to set up an Imou security camera.
- Step 1: set up the Imou Life app
- Step 2: add your camera in the app
- Step 3: connect to the camera
- Step 4: set your preferences
Step 1: set up the Imou Life app

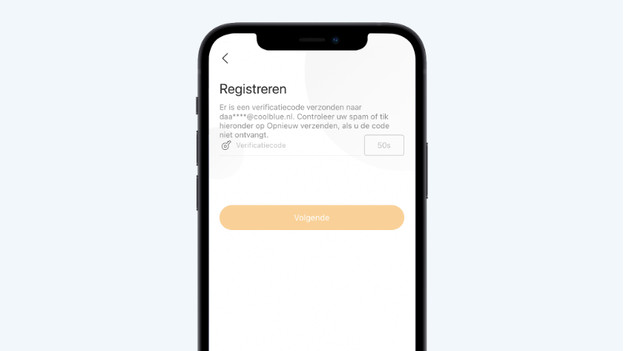
You need the Imou Life app to set up an Imou IP camera. You can find this app in the app store on your phone or tablet. Or you can scan the QR code on the manual of your camera. After you install the app, you create an Imou account. You'll receive a verification code via email that you need to activate your new account.
Step 2: add your camera

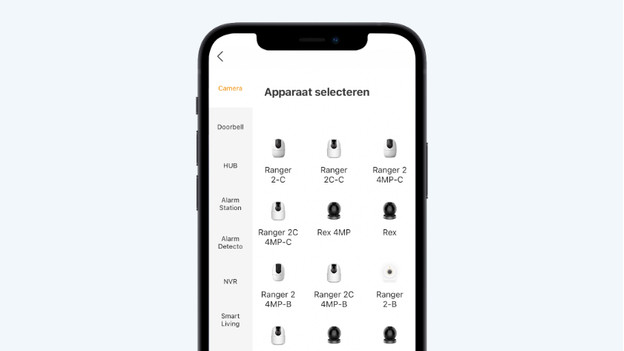
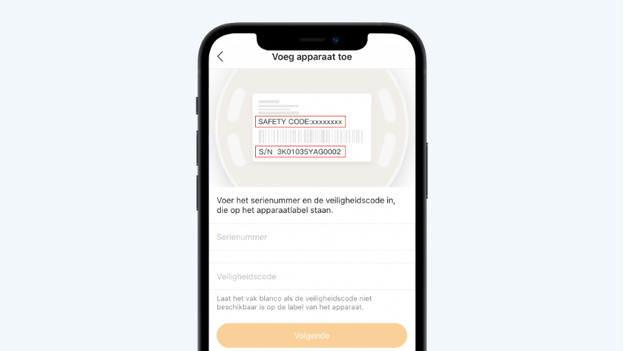
Plug the camera into a socket in the room you want to set it up. It's important there's a stable WiFi signal in this location. Press the large plus symbol on the right of the home screen. Next, choose 'Scan QR code' or 'Add manually'. Depending on your choice, you can now scan the code or enter the serial number manually.
Step 3: connect the camera to your home network

You connect the Imou IP cameras to the internet via WiFi. Select the wireless network you want to connect the camera with. Next, enter the password for this network. The Imou camera will now connect to your network. It can take a couple of minutes before a connection is established.
Step 4: set your preferences

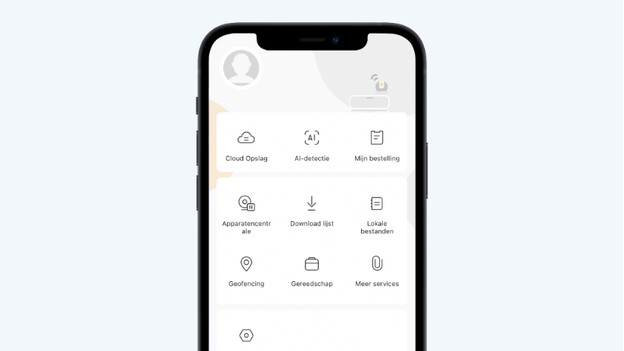
The Imou camera is now ready for use. In the app, you can watch live footage and receive notifications when motion is detected. If you want to adjust your personal preferences, tap the icon in the bottom right corner. Here, you can select cloud storage, set up geofencing, or change your security settings.


