Written by Kayleigh
Edited on
21 March 2025
·
16:32
How do you install an HP cartridge?
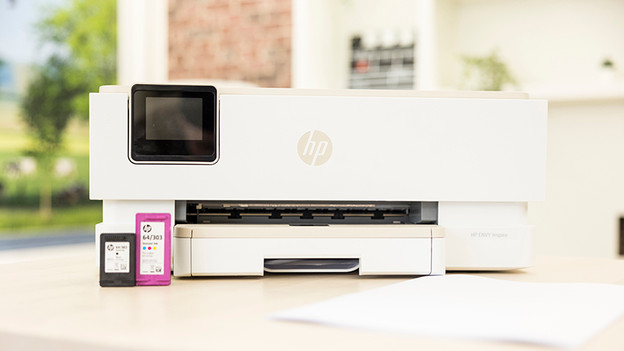
The cartridge of your HP printer is empty and need to be replaced. Replacing your in is easy. In this article, we'll explain how to install an HP cartridge in 3 steps.

Install an HP cartridge in 3 steps
You're going to replace the ink of your HP printer. With the following steps, you replace the cartridges of your printer in no time:
- Step 1. Open the hatch.
- Step 2. Remove the old cartridge.
- Step 3. Place the new cartridge.

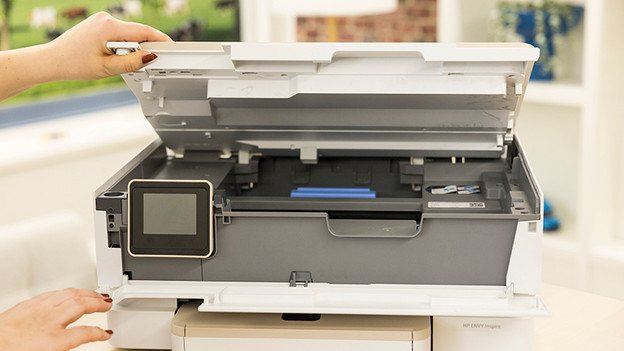
Step 1: open the hatch
It differs per HP printer where your cartridges are. Open the hatch of your printer until it clicks. WIth some models, the catridges automatically come to the front. With other printers, they're fixed in place on the left or right side of the printer. Open the hatch of the cartridge compartment if there's one.

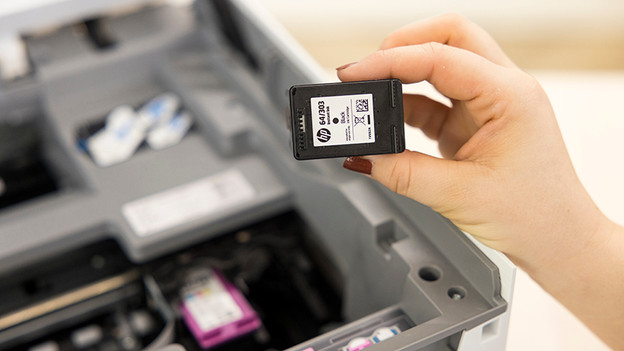
Step 2: remove the old cartridges
Push the hatch of the cartridge as far as possible. This way, you unlock the cartridge. Remove the cartridges from your printer 1 by 1. Ink can make stains on your clothes which is hard to remove, so watch out that the cartridge doesn't leak when removing it. Don't throw the empty cartridges in the garbage bin. There can still be ink in the cartridges and this is bad for the environment. There are even electronics in a cartridge with printhead. Bring your empty cartridges to HP or a different collection point.

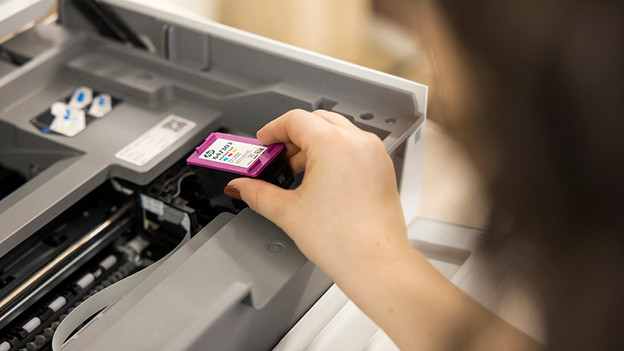
Step 3: place the new cartridges
Take the new cartridges out of the packaging and remove the plastic tape from the cartridge. Don't touch the copper contact points or nozzles, because you can damage the cartridge. Hold the cartridge on the side and place it in the cartridge holder. Take care that you place the right color in the right cartridge holder. Close the lid of the cartridge holder and the printer. The cartridges are set up. The printer then prints an alignment page. Wait until the printer has finished this before turning it off. Then the printer is ready for use.
