How do you install an Eve radiator thermostat knob?
Install the EVE radiator thermostat knob in 6 steps

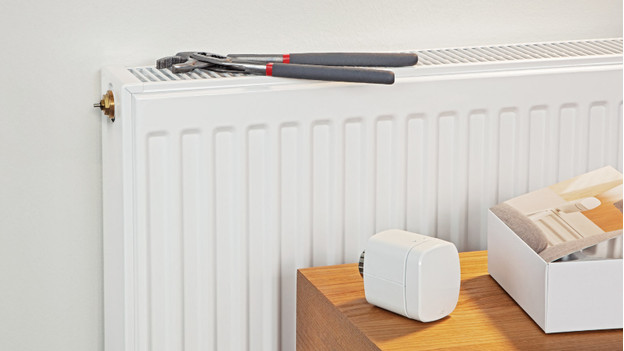
The installation takes about 15 minutes, and you need a screwdriver or a pipe wrench. Follow the steps below to install the thermostat.
- Step 1: Check if your radiator is suitable
- Step 2: Turn on the thermostat
- Step 3: Set up rooms for each thermostat
- Step 4: Connect the thermostat to the radiator
- Step 5: Set your preferences
- Step 6: Reset the thermostat if the installation doesn't work
Step 1: Check if your radiator is suitable

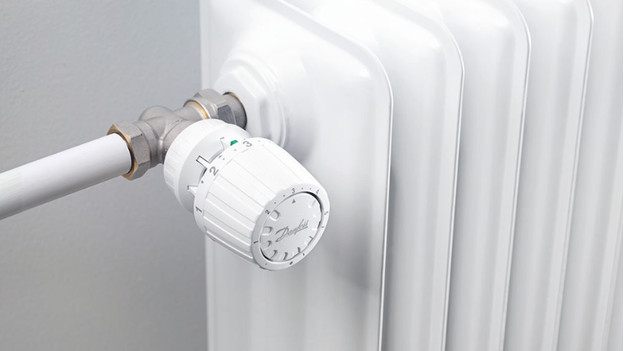
If your current radiator knob has numbers or a display, your heating is suitable for a smart radiator thermostat. Radiator knobs with only a + or - or no icon aren't suitable. You can replace this valve with an M30 x 1.5mm thermostatic radiator valve. Have the replacement done by a mechanic.
Step 2: Turn on the thermostat

Click the hatch of the batteries of the thermostat open and put in the batteries. It'll start right away. Download the Elgate EVE app, which is an app with useful apps for the installation. In the app, you can choose for 'add an accessory', and choose for the EVE thermostat. The app tells you which included PIN you need for your thermostat.
Step 3: Set up a room for each thermostat

As soon as you connect the first thermostat, you can give the room the thermostat is in a name. Name it 'living room' or 'bedroom', for example. For the next thermostats you install, you can choose the same room, or add a new room before you install the new thermostat.
Step 4: Connect the thermostat to the radiator

You can now connect the thermostat to the radiator. Twist the old thermostat from the radiator with a screwdriver or pipe wrench. Also clean the pin that was behind the old knob. Then, push it in firmly 5 times with your wrench or another hard tool. This way, you can be sure the thermostat works properly. Twist the thermostat on the valve by hand.
Step 5: Set your preferences

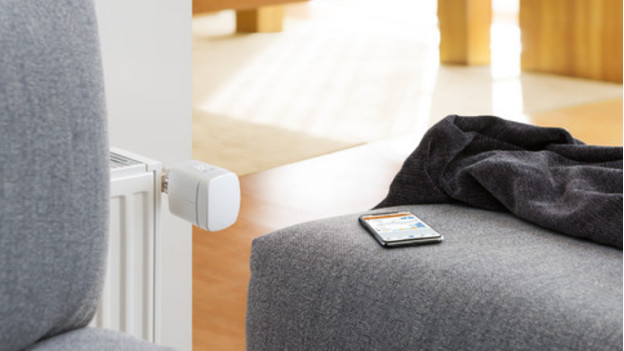
You can now control the thermostat via the app, or via the arrows on the thermostats themselves. You can read 3 tips on how to use your thermostat properly here:
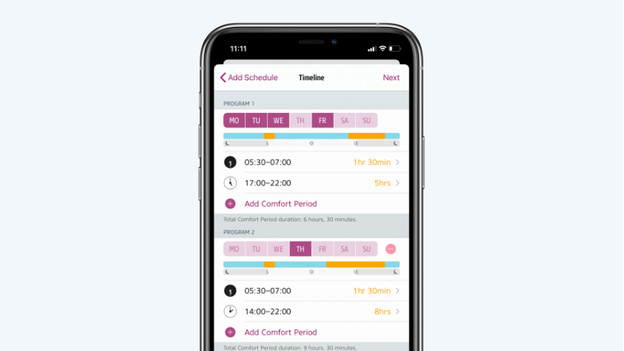
- Plan a heat schedule for each room by tapping 'schedules' in the app. In this schedules, you can choose when the thermostat turns to 'comfort' or to 'eco'. You can set the temperature for both options yourself.
- Make the thermostat turn on automatically when you come home by connecting it to your Apple TV media player. You can do this by logging into the EVE app with your iCloud information.
- Set the 'temperature correction' in the settings. You have to do this because the temperature at your radiator is warmer than the rest of the room.
Step 6: Reset the thermostat if the installation doesn't work

If the installation of the knobs doesn't work, you can reset the thermostat knob. Put a paperclip into the small hole behind the minus hole of the right battery for 10 seconds. Afterwards, you can start over with the installation.


