
Written by Sem
Edited on
30 June 2023
·
14:02
How do you fix PlayStation controller stick drift?
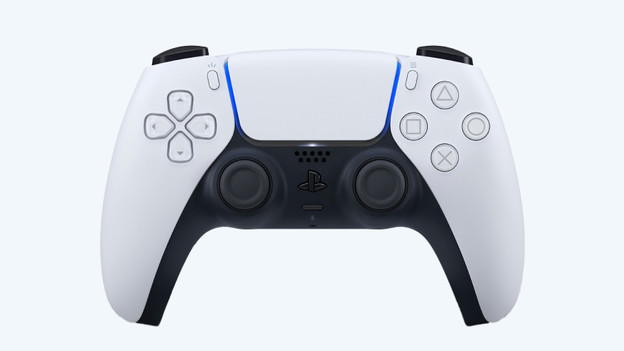
Stick drift on your PlayStation controller is a common problem. Controllers with stick drive seem to be moving on their own when you open the map in Warzone, for example, or when your character walks by themselves. Luckily, there are a number of solutions to get rid of stick drift. You can reset the controller, for example. In this article, we'll explain how to solve the stick drift of your DualShock or DualSense controller yourself.
Solve stick drift
Is your character walking automatically, or is your image moving in another direction while you're not touching the stick? The analog stick has problems. Follow the tips below to get your analog sticks working again as quickly and easily as possible.
Note: the solutions below are only temporary. Stick drift often can't be solved, unless you replace the joysticks.
- Tip 1. Reset your controller
- Tip 2. Clean your controller
- Tip 3. Press analog sticks
- Tip 4. Replace your analog sticks
Tip 1: reset your controller
You can possibly solve your stick drift by resetting your controller. Go through a couple of steps, so your controller gets a hard reset. This means that the controller is put back to factory settings. These steps are both for the DualShock and DualSense controller.
- Turn off your PlayStation console.
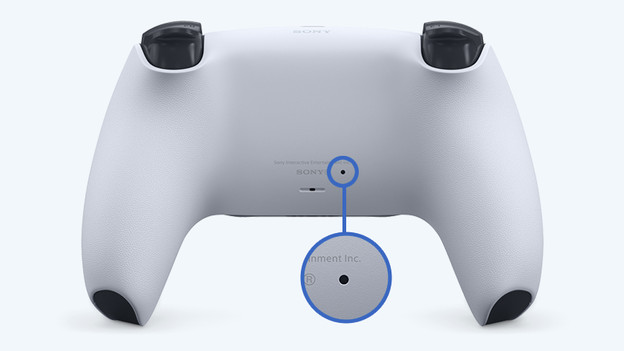
- Turn your controller around and look for a small hole on the back of the controller.
- Press the button in the hole with a paperclip and hold it for 5 seconds.
- Connect the controller to your PlayStation again via a USB cable.
- Turn on your PlayStation and wait until it's booted completely.
- Press the PlayStation button on your controller, have the light bar light up, and connect your controller to your PlayStation.
Your controller has now been reset. Do you still experience stick drift? Continue with the following tips.
Tip 2: clean your controller
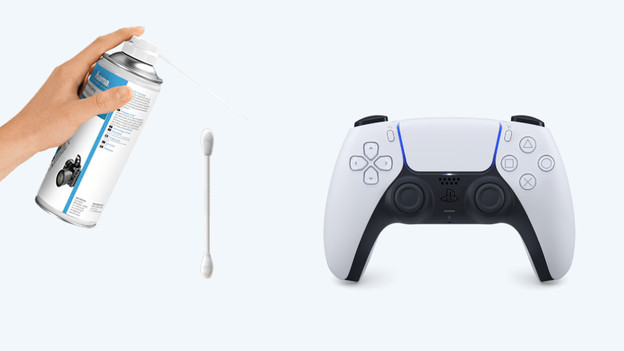
It might be the case that there's dirt stuck in your controller. To clean your controller, you'll need compressed air, cleaning alcohol, and a cotton swab. Keep in mind that you don't get any of the cleaning alcohol on your fingers or clothes.
- Put some cleaning alcohol on the cotton swab and clean the analog joysticks properly.
- Move the stick to the left or right to make sure you can reach everywhere. Do this with both joysticks.
- Grab the compressed air air duster and shake it well before use.
- Hold the air duster upright and press the analog joystick to a side.
- Spray the compressed air around the joystick. Don't put it too close, because your joystick might freeze.
Hopefully, you've now removed the dirt from your controller. Is your stick drift still there? Continue with tip 3.
Tip 3: press the analog sticks
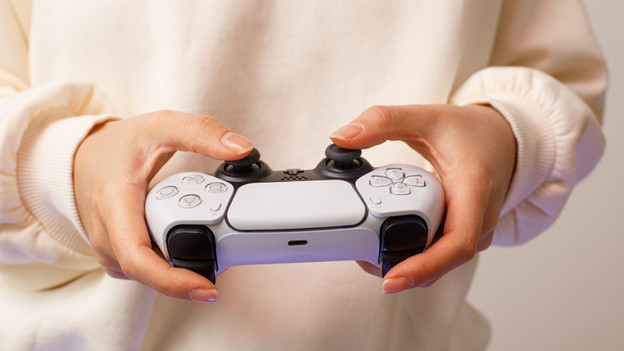
Another trick to solve the stick drift of your PlayStation controller is to press the analog sticks.
- Press and hold both analog sticks of your controller for 10 seconds.
- Then, keep the analog joysticks up and blow in the opening you create by doing this.
- Rotate both joysticks clockwise for 10 seconds.
- Rotate both joysticks counter-clockwise for 10 seconds.
- Keep the analog joysticks up again (forward) and click them in.
Your stick shift should now be solved. Isn't this the case? There's one last option.
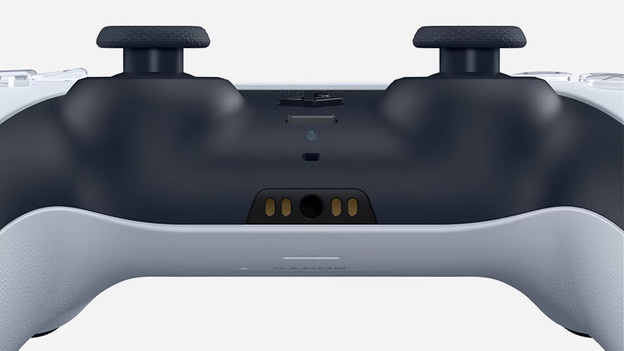
Tip 4: replace your analog sticks
Maybe something is wrong with the joysticks. If all the previous steps didn't help, this is probably the case. You can return the controller, buy a new one, or replace the joysticks yourself. Keep in mind that the warranty will no longer be valid if you screw open your controller. For the replacement of the joysticks and the potentiometer (the sensor for analog sticks), you'll need a soldering iron, desoldering tape, and small tools. Do you find it difficult to follow the steps? Check a tutorial on YouTube to open your controller.
- Unscrew the small screws from the back of your controller.
- Carefully open your controller and disconnect the battery.
- Unscrew the screw from the motherboard and pull it slowly out of your controller.
- Desolder the potentiometer and remove it from the motherboard.
- Put your new potentiometer in the right place and make sure the contacts are soldered correctly.
- Reassemble your controller and it's like new again.
