How do you adjust the image settings on your Sony TV?
Get started with the picutre settings
With the right settings, you can improve the image quality of your Sony TV. With these steps, we'll explain where to find these image settings and how to adjust them.
- Step 1: go to the 'Settings'
- Step 2: navigate to the 'Picture and Display'
- Step 3: choose the picture mode
- Step 4: turn the light sensor on or off
- Step 5: adjust the brightness
- Step 6: adjust the color saturation
- Step 7: adjust the picture sharpness
- Step 8: adjust the motion flow
- Step 9: set up the HDR mode
Step 1: go to the 'Settings'
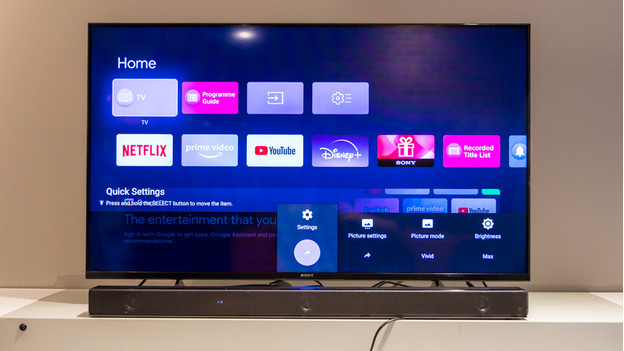
You start at the Home menu, that starting screen of your Sony TV. Press the 'Home button' of your remote, so you'll automatically end up there. With the arrows, you can navigate through the menu to the 'Settings', which is the button with the cogwheel icon.
Step 2: navigate to 'Picture and Display'

Next, you see an overview of all settings. You can press the down arrow on your remote, so you'll get to the 'Display and audio' option. Press 'OK'. Afterwards, select 'Picture and Display' for advanced settings.
Step 3: choose a picutre mode
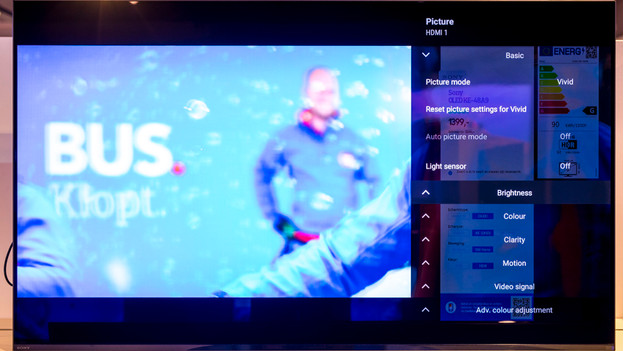
A picture mode is the quality setting which is pre-adjusted to the genre you're watching. Sony has various available versions. For example, you can watch sports matches in the 'Sports' mode, and Disney movies in the 'Animation' mode.
Step 4: turn the light sensor on or off
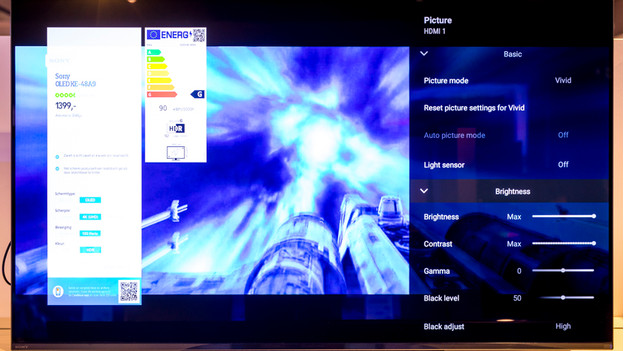
In the next option, you can decide if the light sensor must be on or off. This sensor measure how much light is present in the room, and it'll adjust the brightness of the screen. That way, the brightness goes up if there's a lot of ambient light, and it goes down if there's little sun or artificial light.
Step 5: adjust the brightness

Is the TV light not bright enough? Or is the light too bright, so you get sore eyes? You can adjust the brightness manually under the header 'Brightness'. A lower brightness also results in a lower energy consumption, which is better for the environment and your wallet.
Step 6: adjust the color saturation
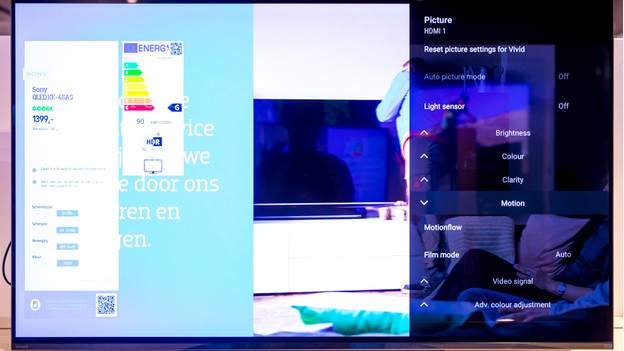
The color saturation level indicates how pure the colors on the screen are. A high color saturation provides vibrant intense colors, for example. On the other hand, colors with a low saturation are colder and more sober. It's a matter of taste how you want to set up the color saturation.
Step 7: adjust the picture sharpness
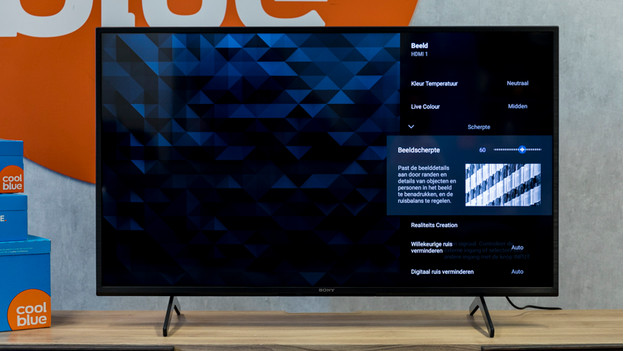
You can adjust the sharpness under the header 'Picture sharpness'. You can increase the sharpness if you want to see more detail, for example. If the sharpness is too high, you'll see extra lines between different colors. In that case, you can lower the sharpness.
Step 8: adjust the motion flow

The motion flow determines how the TV displays moving images. Is you motion flow is in the automatic mode? The TV will adjust or improve fast-moving images, so they look more smooth.
Step 9: set up the HDR mode
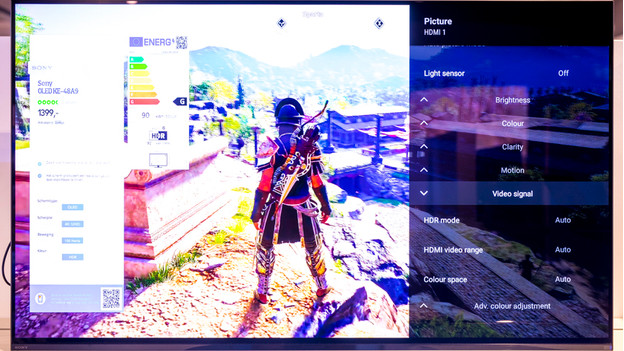
HDR support means that the TV displays images that are extra colorful and rich in contrast. There are different HDR types, which you can set up under 'HDR Mode'. For example, PlayStation games, and movies from apps like Netflix, Disney+, and Apple TV+ are in HDR10. Movies from Google Play Movies and Amazon Prime often have the HDR10+ format.


