
How do you set up a Ring IP camera?
Set up Ring IP camera in 5 steps
Follow these steps to set up your Ring camera.
- Step 1: turn on the camera.
- Step 2: download the app on your phone or tablet.
- Step 3: add the camera and set it up.
- Step 4: set your wireless network.
- Step 5: complete the setup.
Step 1: turn on the camera
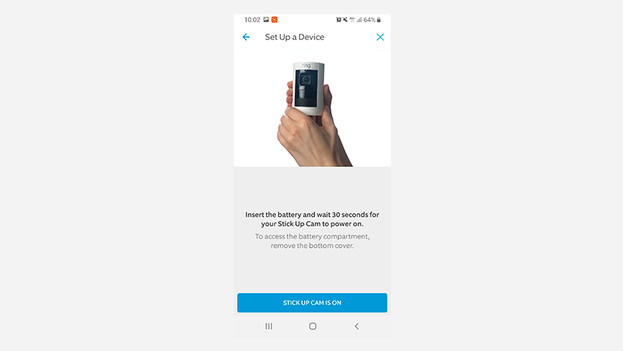
You do the setup when your camera isn't mounted yet. Put the plug of the camera in a socket near your router first. That way, you know for sure that the WiFi signal is good enough for the setup. The camera will turn on. As soon as the blue light blinks, you can continue with the setup process. Do you have a camera with a battery? It's charged automatically.
Step 2: download the app
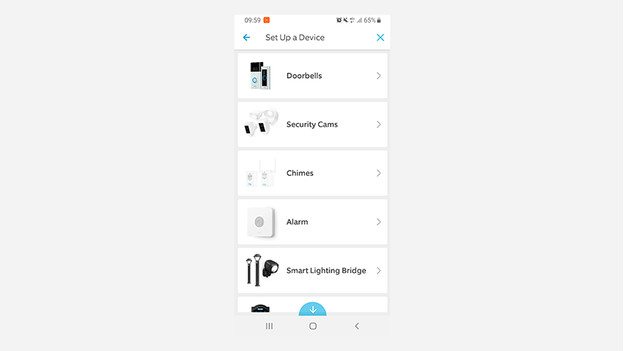
While your camera boots, you can already install the Ring app. You can find it in the app store on your phone or tablet. Create a new account or log in. Choose 'Set Up a Device' to begin the setup process. You now choose your Ring IP camera.
Step 3: set up the camera
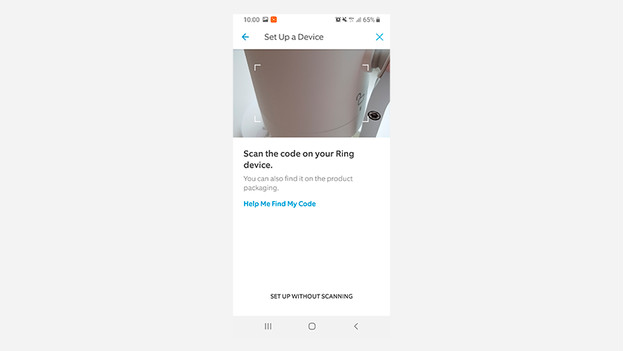
Scan the QR code on your Ring IP camera. If you can't find it, it's probably located in the battery compartment. In the next step, you name your camera. That is especially handy if you want to set up multiple cameras. This way, you can keep them apart. You also choose the location you plan on mounting the Ring IP camera later on.
Step 4: connect to the WiFi
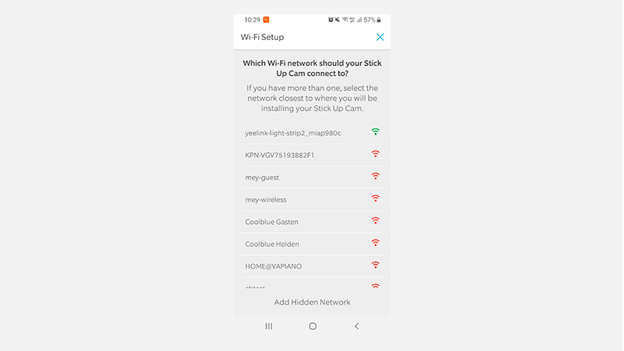
You connect Ring IP cameras to the internet via WiFi. To set up the camera, you first connect your phone to the special Ring network. This temporary WiFi network has the name 'Ring Setup'. Connect to this network to continue the setup process. Go to the Ring app and connect your IP camera to the WiFi network you normally use.
Step 5: finish setup
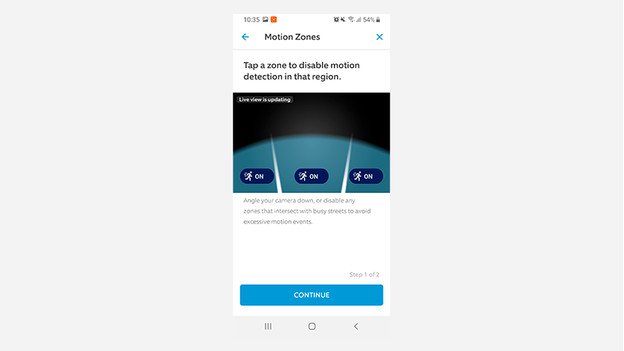
The Ring IP camera is now set up. It can take several minutes before all the settings are saved. Your Ring IP camera also downloads the latest updates. Is all of this done? Try if you see the feed via the app. You can also select which zones you want to secure extra. Your camera is now completely set up.


