How do you set up the microphone of a PS4 gaming headset?
On this page, I'll explain how you can set the microphone of your new gaming headset on your PS4 in no time. That way you can be heard during gameplay and your friends won't be bothered by cracking and they don't have to listen to your breathing.
Setup the microphone of your gaming headset
- Go to the sound settings
- Choose the correct output device and adjust the volume
Preparation

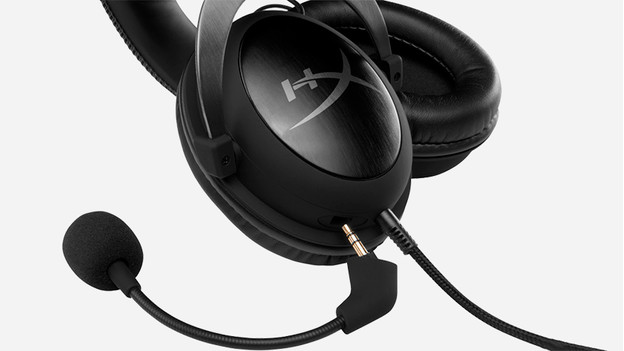
- Check whether your gaming headset is properly connected to your PS4. Check if you use the right connector for the headset connector, or whether the included wireless receiver is connected.
- Can you disconnect your microphone? Then check whether you've properly reconnected it.
- Check that you haven't accidentally switched on the mute function of your microphone. This is often located on the ear cup or your controls on the cable of your headset.
Opening the sound settings
To change the settings of your microphone, navigate to the audio menu of your PS4.
- Navigate to Settings > Devices > Audio devices.
Adjusting the settings
-
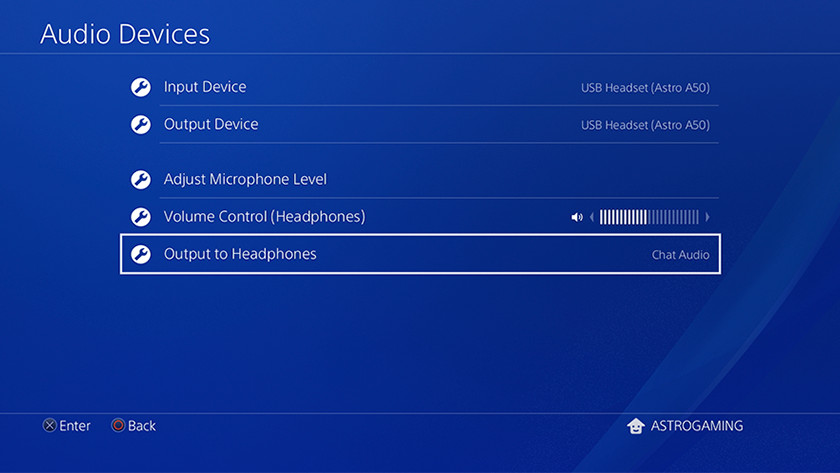
Do you only want to hear your chat? Or the game sound as well?
-
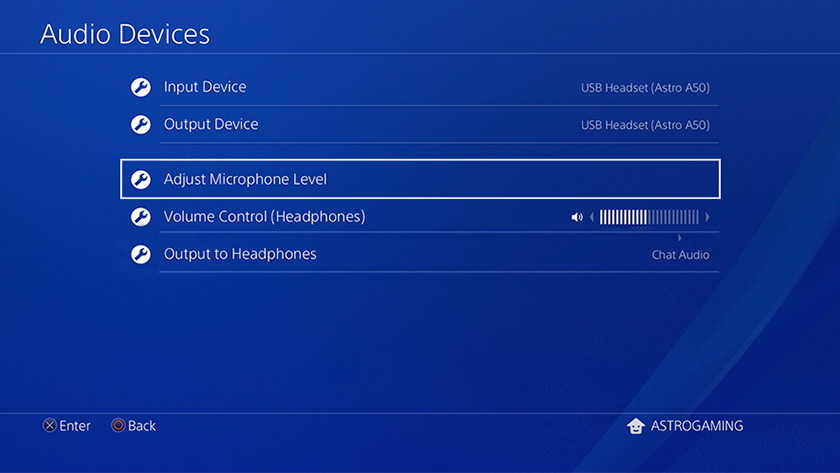
Determine how loudly your friends hear your voice
- Output device: make sure you see your gaming headset here.
- Adjust microphone level: Adjust the transmission volume of your microphone here. This is possible while you're in a party with your friends.
- Output to headphones: here, you determine whether you can only hear your chat via the headset or also the audio from the game. Chat only makes it easier to hear each other.
- Side tone volume (Only if your headset supports this): this determines how loudly you hear yourself.
Tips
- Only let your game chat run through your headset if you have trouble understanding each other while gaming.
- Make sure your microphone is at the correct distance from your mouth.
- Do you still have problems? Then test whether the problems also occur when used with your PC or another console.

Article by:
Giovanni
Gaming Expert.


