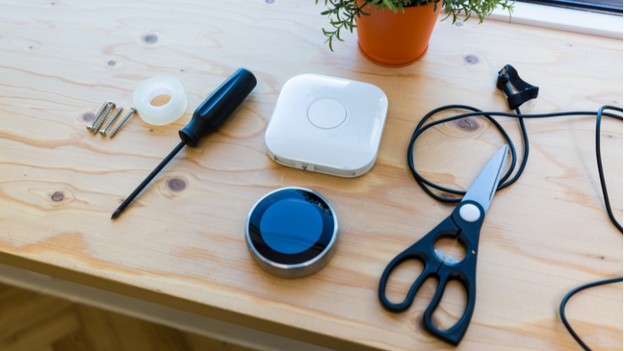
How do you set up the Google Nest Heat Link?
Get started with the Nest Heat Link

Keep your WiFi password on hand.
- Turn off the AC power
- Find the right wires
- Connect the right wires
- Set up the Heat Link close to your heating system
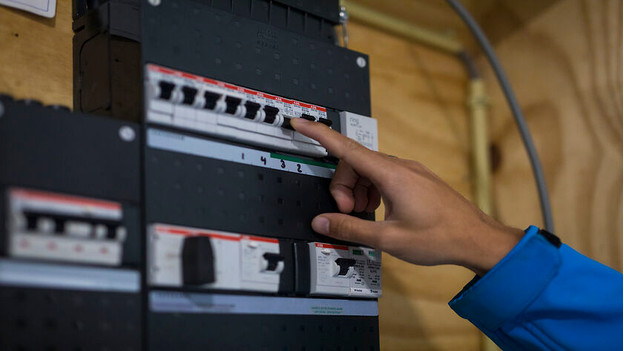
Step 1: turn off the AC power

Open the app and check whether your thermostat is suitable for your boiler. You can do so via the app, or via the Nest site beforehand. Make sure you to turn off your heating and cooling system. It's safer that way, as you'll be working with electricity. Check if your heating is off by increasing the temperature and checking whether the heating turns on.
Step 2: find the right wires in your heating system

Find the call-for-heat circuit in your heating system. You'll need the manual of your heating system for this. You may have to test the function of your wires to make sure you use the right ones. Are you unsure? Have an electrician take a look, because you could blow the fuses if you use the wrong wires.
Step 3: connect the right wires

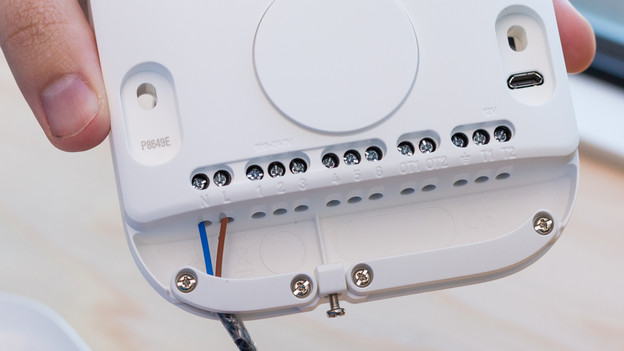
Supply the Heat Link with power by connecting the right wires to the connectors L (live) and N (neutral). You can connect the common wire to the connector with the number 2, and connect the call-for-heat wire to the connector with the number 3. The connectors T1 and T2 should go to the connectors with T1 and T2 on your thermostat.
Step 4: install the Heat Link

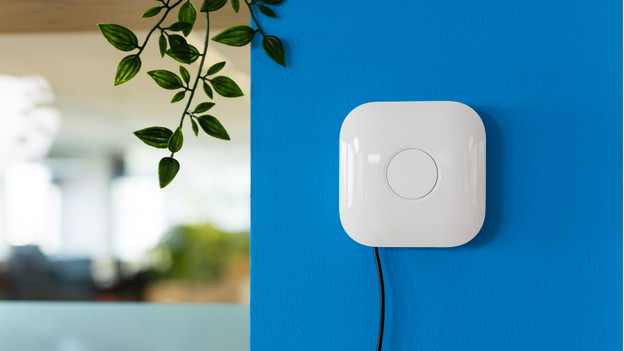
You can mount your Heat Link to the wall with the included screws. Make sure to leave 30cm of space on all sides and leave placing the cover on the Heat Link for last. The thermostat can hang up to 30m away. In the next article, we'll explain how you can connect the Nest thermostat.

