How do I install the BlueBuilt pivotable wall mount 32-55 inches?
Before you start
| Estimated installation time: | 30 minutes |
|---|---|
| Recommended number of people: | 2 |
| Suitable surface: | Solid brick or solid concrete |
| Before drilling: | check if there aren't any cables or pipes behind the wall with the wall scanner |
What do you need?
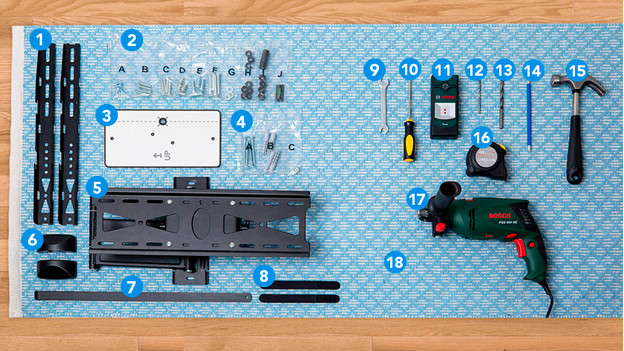
In the box
- TV frames
- Screws, rings, spacers for the TV, and spirit level
- Template
- Screws and plugs for the wall
- Wall mount
- Covers
- Protection
- Velcro for your cables
What do you have to bring yourself?
- 11mm wrench or socket wrench
- Cross-head screwdriver
- Wall scanner
- 5mm drill bit
- 10mm drill bit
- Pencil
- Hammer
- Tape measure
- Impact drill or concrete drill
At the end of the installation process, you'll have a couple of screws left. That's because the mount includes parts for different TV sizes.
Step 1: place the frames
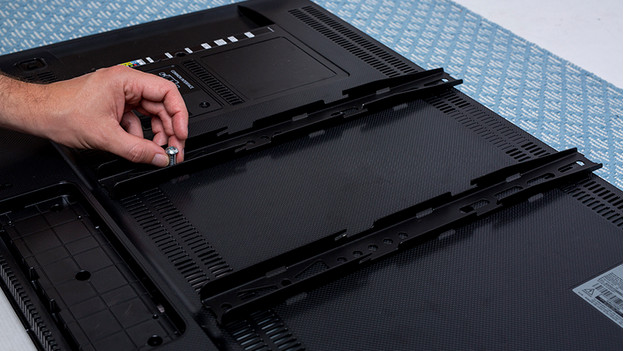
Place your TV on a rug and place the TV frames (1) on your TV as shown on the photo.
Check which screw from the A to F bags (2) is suitable for your TV. You only need 1 set.
Step 2: mount the frames
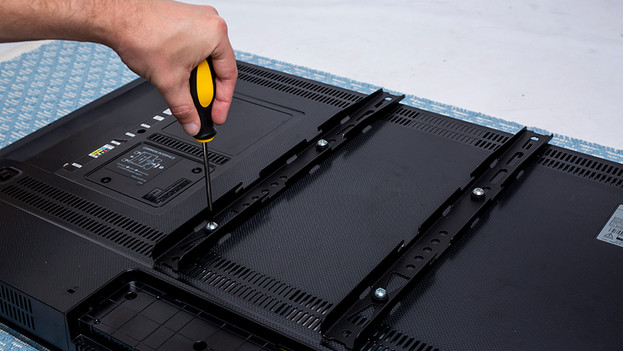
Tighten 1 screw. Do you still have space? Put a ring (g) or spacer (H or I) between the screw and frame.
Tighten the other 3 screws in the same way.
Step 3: mark
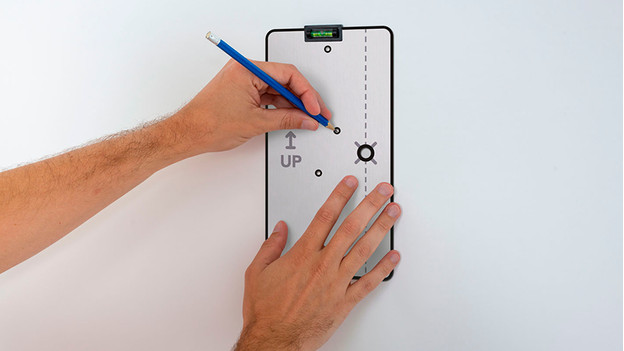
Draw an X on the wall where the center of your TV should be.
Place the template (7) on the wall so you can see the X you've just drawn with the marker and draw the drill holes with the spirit level (J).
Step 4: drill
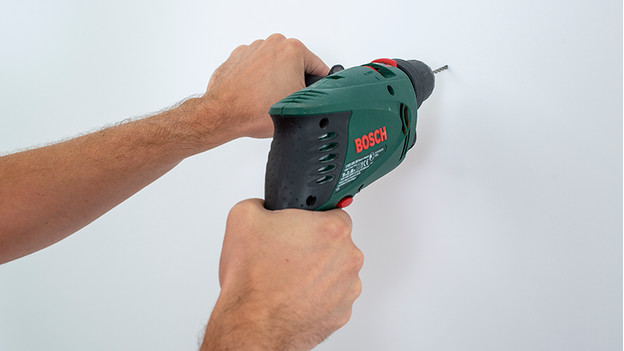
You can drill extra precisely by first using the 5mm drill and then the 10mm drill. Drill as deep as the length of the screws (4).
Hammer the plugs (4) into the holes.
Step 5: mount the mount
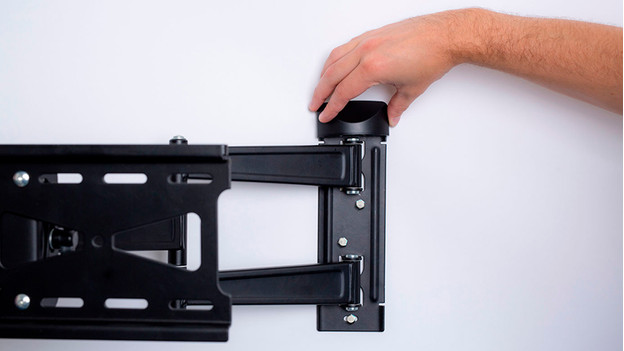
Tighten the screws of the wall mount (5) on the wall with rings (4) between the mount and screws.
Attach the covers (6) to the wall mount.
Lift the TV with someone and attach it to the wall mount.
Step 6: secure
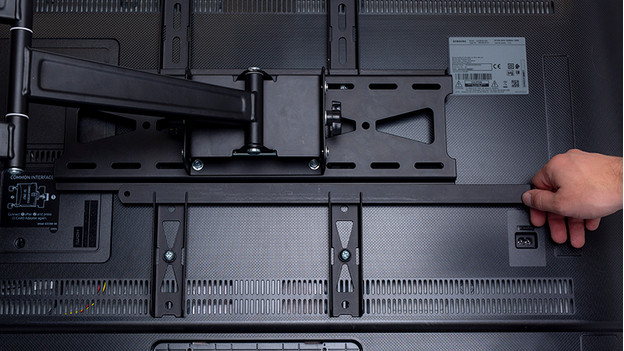
Slide the protection (7) into the opening on the bottom of the frames.
Done! Give yourself a pet on the back, turn on the TV, and take a seat on the couch.


