Written by Rowan
Edited on
19 May 2025
·
14:41
How do you connect the dispenser of an American fridge?
You have an American fridge that you want to connect to the water supply. It's important that there is a cold water tap nearby when connecting the dispenser. Make sure that you use a water filter, so that you can always tap fresh water. You can read how to connect the dispenser here.

Connect dispenser in 4 steps
You connect the dispenser of your American fridge as follows:
- Step 1. Turn off the main water supply
- Step 2. Connect the water hose to the cold water tap
- Step 3. Attach a water filter to the hose
- Step 4. Rinse the dispenser

Step 1: turn off the main water supply
To install the dispenser safely, first close the main water supply. You can usually find it in your fuse box or in the crawl space. Next, close the cold water tap you want to connect the American fridge to.

Step 2: connect the water hose to the cold water tap
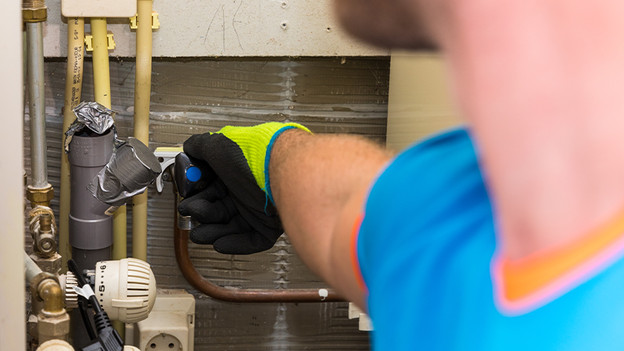
After closing the main water supply and the cold water tap, you connect the water hose. Your fridge includes a bag with an adapter and a ring, also called a nipple. You push this nipple onto the water hose. Next, you attach the adapter. Connect the hose the tap with the adapter and tighten the hose firmly.

Step 3: attach a water filter to the hose
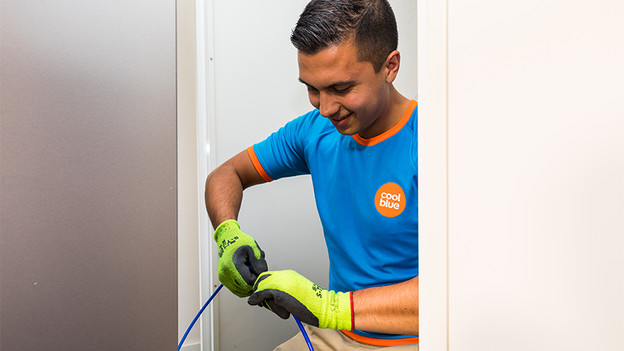
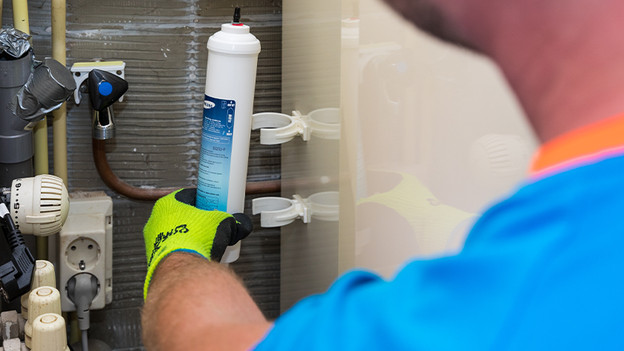
To always tap fresh drinking water, use a water filter. You can install one via the hose on the back of your fridge. Unscrew the bolt from this hose, remove it from the water drain of the fridge, and attach it to the water filter hose. Tighten the bolt to connect the water filter hose and water drain. Next, tighten the 2 clamps. Place the water filter vertically upright in these clamps in the correct direction.

Step 4: rinse the dispenser
After installing the water filter, rinse the dispenser. You can do this by tapping 6 to 8 pitchers of water. This way, you can remove air bubbles and dirt from the system. Make sure that you tap in batches, not continuously. Once the water is clear, you know that it's successfully rinsed. The dispenser is now ready for use.
