How do you set up the Astro A40/A50 for the Xbox One?
You just received your new Astro A40/A50 gaming headset. Before you can use it, you'll have to set it up first. To make the setup easy, I've created a step-by-step plan for each platform: PC, PS4, and Xbox One.
Step 1. Preparations
What do you need?
- An Xbox One.
- The base station/AMP (Charging dock).
- The micro USB cable.
- The TOSLINK optic cable.
- A40/A50 headset (note: the headset needs to be fully charged before the first use).
Step 2. Connect the headset & base station

- Connect the base station to AC power.
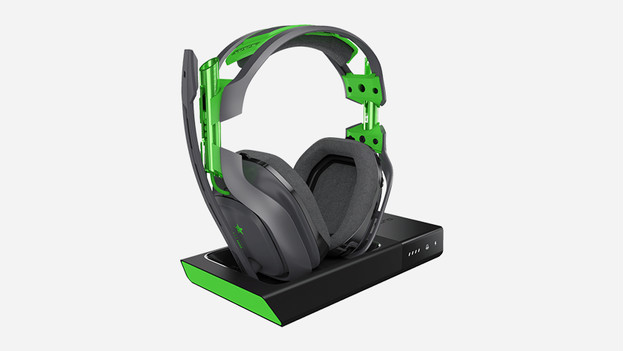
- Line up the microphone with the microphone slot (the microphone should be folded in) and place the headset in the base station.
- The LED indicator will turn orange when the headset is being charged. If it's not, place the headset in the base station again.
- The connection is complete if the charging status is displayed on the base station.
- The headset is fully charged when all battery status lights (4) are on.
Step 3. Connecting it to Xbox One

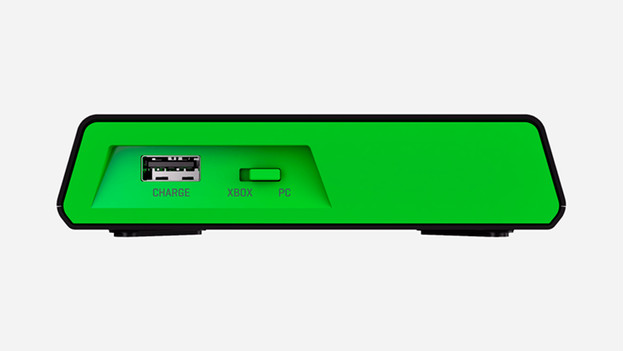
- Switch on the Xbox mode with the slider on the back of the base station.
- Put the micro side of the USB cable in the base station and the USB side in the Xbox One.
- Put the optic cable in the optic port of the Xbox and the other end in the base station's Opt In port.
Step 4. Setting the audio on the Xbox One

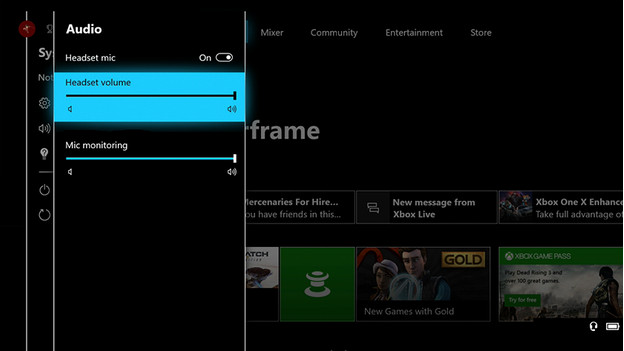
- Go to the Settings of the Xbox One. Go to 'Display & Sound' and select 'Audio Output'.
- Select the following settings in 'Audio Output':
- HDMI audio: Off
- Optical Audio: Bitstream Out
- Bitstream format: Dolby Digital
The headset should work now.

Article by:
Giovanni
Gaming Expert.

