Written by Prescious
Edited on
30 December 2024
·
08:50
How do you set up the ASUS ROG Ally?
You just purchased the ASUS ROG Ally and want to use it as soon as possible. The ASUS ROG Ally runs on Windows 11, so you can play any game via every game launcher. On this page, we'll explain how to quickly and easily set up the ASUS ROG Ally in 3 steps.

Set up the ASUS ROG in 3 steps
You can set up the ASUS ROG Ally in 3 steps. Connect the ROG Ally to the socket with a charging cable before the setup.
- Step 1. Install Windows 11
- Step 2. Adjust the settings in ASUS Armoury Crate
- Step 3. Set up game launchers

Step 1: install Windows 11
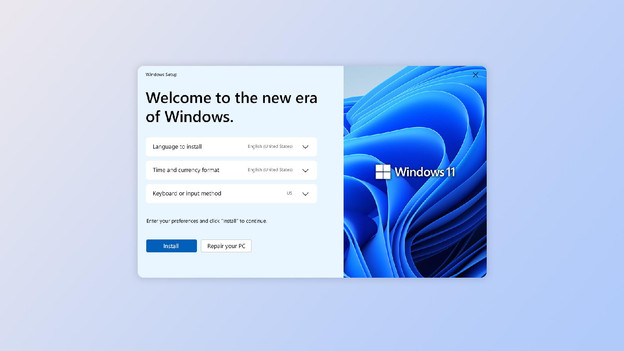
Go through the following steps to install Windows 11:
- Choose the country and region you live in.
- Choose a keyboard layout.
- Name your ASUS ROG Ally.
- Link your Microsoft account to the system. Don't have one yet? Create one.
- Set up a PIN code and register your fingerprint, so you can log in quickly.
- In the window 'Customize your experience', choose 'Gaming'.
Windows 11 has now been installed.

Step 2: adjust the settings via ASUS Armoury Crate
Via the ASUS Armoury Crate, you can adjust your game settings. You can adjust the most important settings here:
- Operation mode
- Turbo 25W: maximum power, but uses a lot of battery. Ideal for games with a high fps. The ROG Ally produces a lot of noise with this setting.
- Performance 15W: balance between power, battery, and temperature.
- Silent: 10W: little power and doesn't use much battery. Ideal for light games. The ROG Ally produces little noise with this setting.
- Fps: the higher the fps setting, the more power and battery is used.
- Game profiles: create profiles with specific actions assigned to buttons. That way, you'll always have the right actions with the right games.
You can adjust the brightness, connectivity, and shortcuts via Armoury Crate as well.

Step 3: install game launchers and games
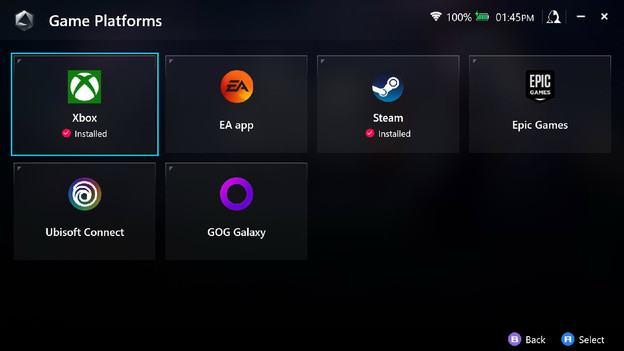
Open Microsoft Edge and look for the game launcher you want to download in the search bar. Because the ASUS ROG Ally runs on Windows 11, you can install any game launcher that's available for the PC on the ROG Ally. We listed a couple of examples of launchers that you can download:
- Steam
- Xbox App
- Epic Game Store
- Battle.net
- Origin
- Amazon Games
- GOG Galaxy
Article by Prescious
Gaming Expert.
