Written by Kayleigh
Edited on
21 March 2025
·
16:32
How do you connect your Epson printer to WiFi?
There are different ways to connect your Epson printer to WiFi. If you have a printer with a display, you connect it differently than a printer without a display. Does your printer have WiFi Direct? Easily connect the printer to your WiFi network without a router. We'll explain step by step how to connect your printer.

Connect to WiFi in 3 ways
There are 3 different ways to connect to your Epson printer. Which way you can use depends on whether your printer has a display or not. In addition, some printers have their own network. in that case, you can also connect to your printer via WiFI Direct.
- Connect your printer with display.
- Connect your printer without display.
- Connect via WiFi Direct.

Connect your printer with display
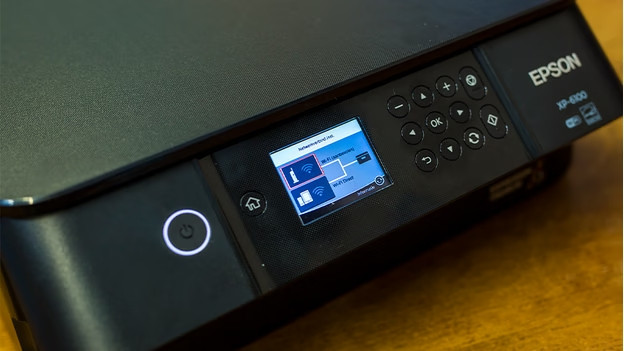
This is how you connect an Epson printer with display:
- On your printer, go to 'Settings' and tap 'Network settings'.
- Select 'WiFi settings' and choose 'Yes'.
- Click 'Set up WiFi manually' and press 'OK'.
- Choose 'Infrastructure mode' and look for 'SSID'. The 'SSID' is the network name of your router.
- Find the network name of your uroter and enter the password of your WiFi network.
- After about 1 minute, your printer is connected to WiFi.

Connect your printer without display
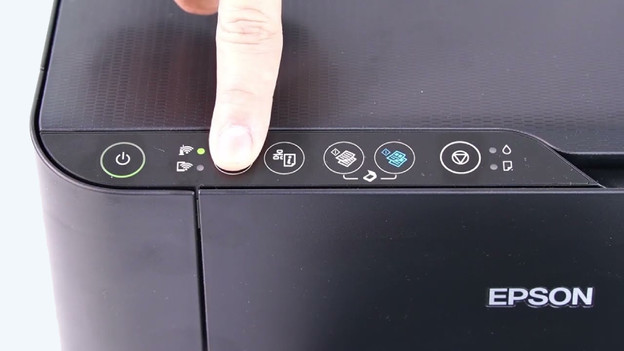
Doesn't your Epson printer have a display? Connect your printer to WiFi via a WPS button. You can find this button on your router.
- Place your printer near your WiFi router.
- Press and hold the WPS button for 5 seconds.
- Then, Press and hold the WiFi button on your printer for 3 seconds. The orange and green network status lights will now blink alternately.
- After about 1 minute, your printer is connected. Once your printer is connected, the orange and green network status lights start blinking at the same time.

Connect via WiFi Direct
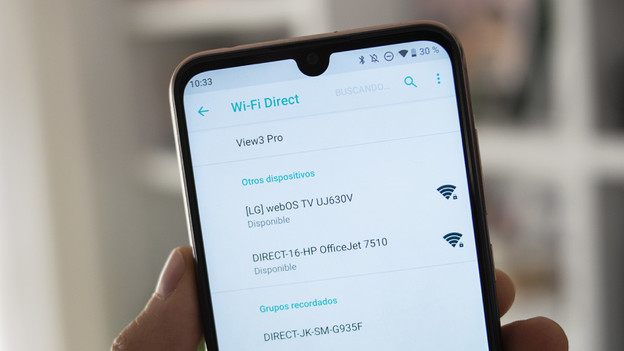
Does your Epson printer have WiFi Direct? Connect your computer or smartphone to your printer easily without a modem.
- On your printer, go to the WiFi icon and select 'Set up WiFi'.
- Go to 'WiFi Direct'.
- Follow the instructions on the display.
- On your mobile device or computer, go to the WiFi connections and select your printer. For example, EPSON XP-6100-series.
- Enter the password. It'll appear on the display of your printer.
- Your device is now connected to the WiFi network of the printer.
Article by Kayleigh
Printer Expert.
