Written by Bram
Edited on
12 March 2024
·
16:01
How do you set up a Google Nest IP camera?
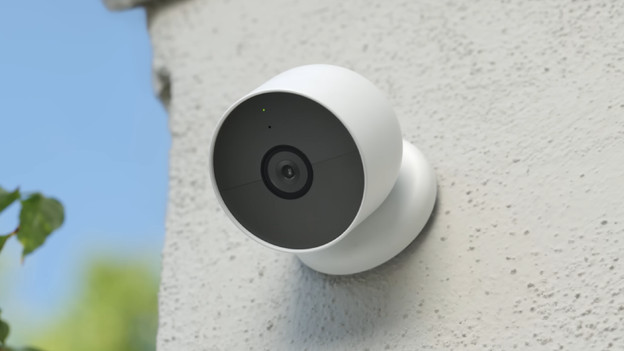
You can use a Google Nest Cam completely via the Google Home app. The setup is often easy and doesn't take long. In this article, we explain how to set up the Google Nest Cam. You can set up the Google Nest Cam Wired in the same way.
Set up a Google Nest Cam in 5 steps
Follow these steps to set up your Nest camera.
- Step 1: download the app on your phone or tablet.
- Step 2: charge the camera.
- Step 3: add your new camera.
- Step 4: set up your wireless network.
- Step 5: use your IP camera.

Step 1: download the Google Home app
You need the app to set up a Google Nest IP camera. You can download the Google Home app from the Google Play Store or App Store. You can also control all your other Google Nest and Google Home devices in this app.

Step 2: charge the camera
Make sure the camera is charged before you start. You also have to keep the Google Nest Cam Battery plugged in to the power adapter. When the camera is charging, a white light will flash. When the camera is fully charged, the white light remains on.

Step 3: add the camera in the app
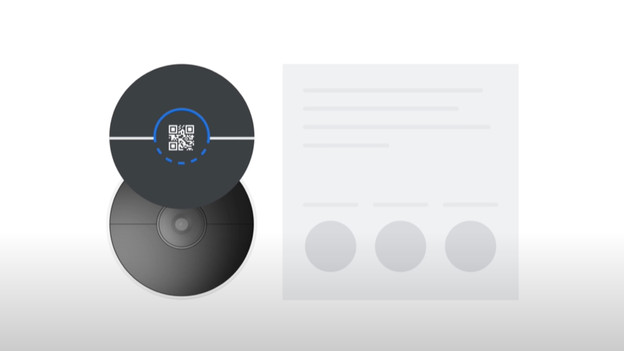
Tap 'Add new device' in the Google Home app. This often isn't necessary, because the Google Home app recognizes that a new camera is starting right away. You can then scan the QR code on the sticker on the front of the camera. Keep this sticker in a safe place for when you need to set up the camera again.

Step 4: set the camera
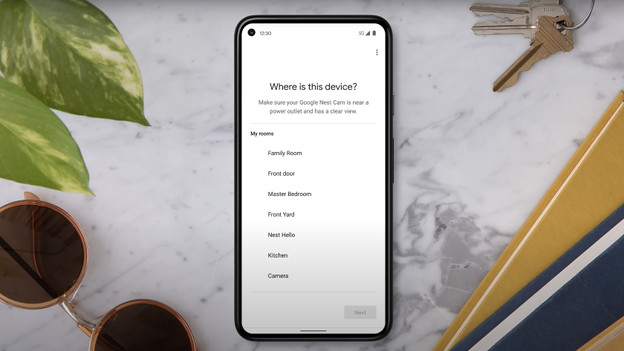
When the light on the camera flashes blue, Nest Cam is ready to be connected. Make sure you're connected to the same WiFi network that the Nest Cam needs to connect to. It then automatically connects via the app. After this, set up the room where you're going to mount the camera.

Step 5 (optional): mount the camera
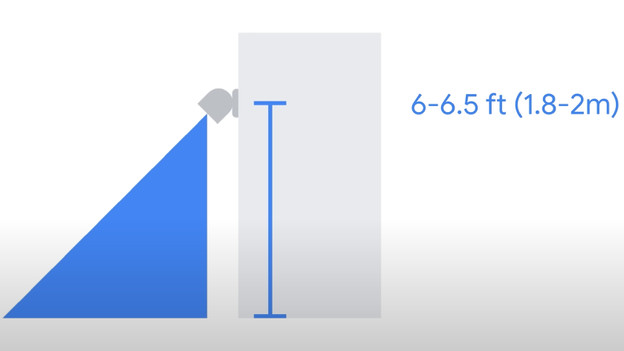
Want to use the camera outside? It's best to mount it at about a 2m height. At this height, most the camera functions work well. You can mount the camera with the included wall mount. To do this, drill 2 holes in the wall. Then, you mount the camera magnetically. To be on the safe side, use the fall cable in case the camera comes loose.
Article by Bram
IP camera expert.
