Written by Caitlin
Edited on
28 January 2025
·
08:54
How do you mount an under-cabinet range hood?
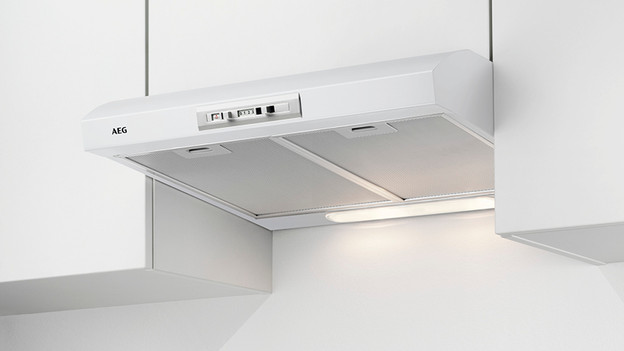
You can mount an under-cabinet range hood under a kitchen cupboard or directly on the wall. You can read how to approach this in the following 6 steps. It's a general step-by-step plan for all brands of range hoods. The precise steps per brand are described in the included manual.
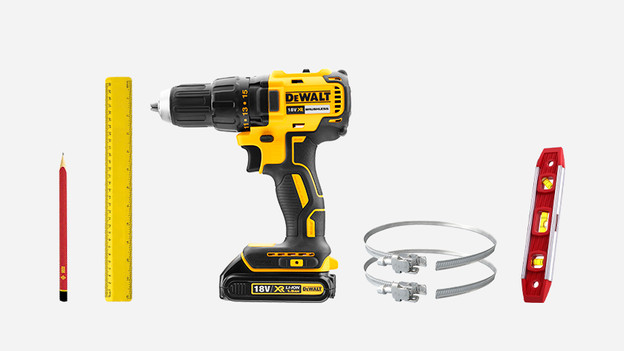
You need:
To mount an under-cabinet range hood, you need:
- A ruler
- A pencil
- A drill
- 2 hose clamps
- An extra set of hands
- A saw (when mounted under a kitchen cabinet)
- A spirit level (when mounted on the wall)
- Plugs (when mounted on the wall)
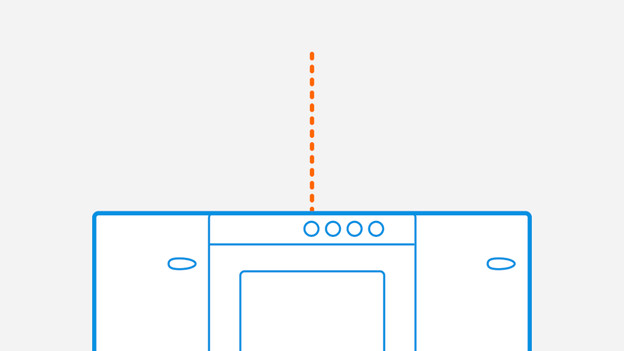
Step 1. Determine the placement
You can mount an under-cabinet range hood under a kitchen cupboard or on the wall. To ensure that the range hood hangs directly above your cooktop or stove, draw a center line on the back wall with a pencil. This is a vertical line that indicates the center of the cooktop. Also make sure that you maintain the correct distance between the cooktop and the range hood. How many centimeters this is, is stated in the manual.

Step 2. Remove the foil
Protective film is on many range hoods. You remove this foil before mounting, because now you still have easy access to it. To remove the protective film, first remove the grease filters from the range hood. After this, you gently peel off the film.
Step 3. Draw the required openings
Placement under kitchen cupboard
Place the included template on the bottom of the kitchen cupboard. Make sure the center is an extension of the drawn center line. Mark the screw holes and the hole for the connection cable. If you connect the range hood to the ventilation system, you also draw the opening for the outlet.
Placement on the wall
Take the template for mounting on the wall and hold it against the place where the range hood is going to be. Make sure that the template is level and that the center is an extension of the drawn center line. The top of the mold is the same as the top of the range hood. After this, you mark the places of the screw holes.
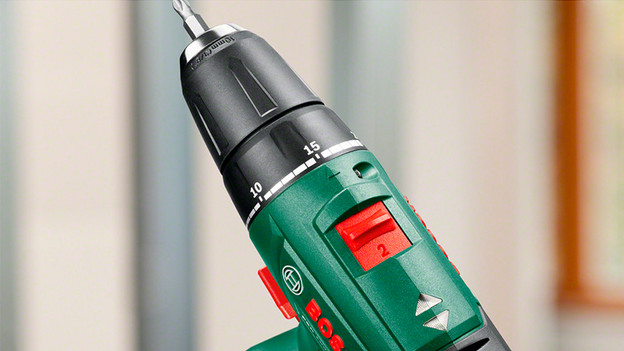
Step 4. Drill openings
The required diameter and screws can be found in the included manual.
Placement under kitchen cabinet
Drill the screw holes and the opening for the power cord in the bottom of your kitchen cabinet. When connecting the range hood to the ventilation system, you also saw the opening for the outlet in the kitchen cabinet.
Placement on the wall
You need the included mounting brackets and plugs. Drill through the markings on the wall and place the plugs. After this, you fix the brackets with the screws.
Step 5. Mount the under-cabinet range hood
Now you need an extra pair of hands.
Placement under kitchen cabinet
Lift the range hood to the bottom of the cabinet and push the power cord through the newly drilled opening. Then fix the range hood with the screws indicated in the manual. Do this through the inside of the kitchen cupboard in the top of the range hood.
Placement on the wall
Lift the range hood towards the wall and mount it on the mounting brackets. How to do this exactly is described in the included manual.
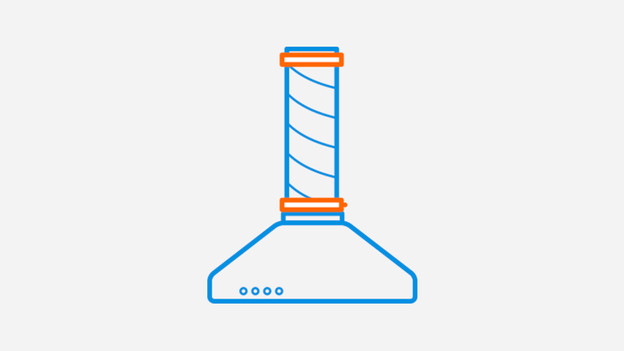
Step 6. Install the drain pipe
Place the exhaust hose on the outlet spout and secure it with a hose clamp. Now mount the outlet nozzle in the opening of the range hood and tighten it by turning. You then attach the exhaust hose to the outlet to the outside. If necessary, install a check valve and secure the hose with a hose clamp. If your exhaust pipe doesn't fit, consult the manual.
Article by Caitlin
Range Hood Expert.